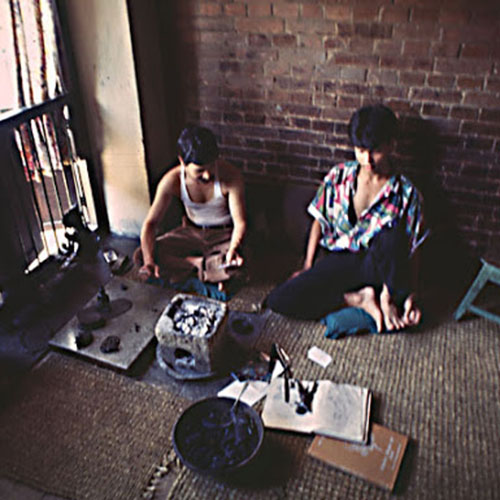
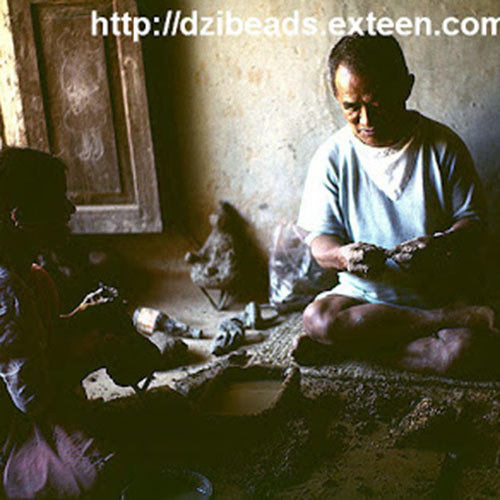
Before Making statue :At work room making the wax models. | 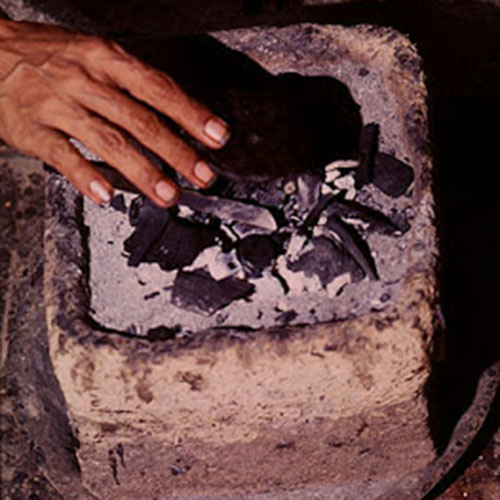
Softening a piece of wax over a brazier. | 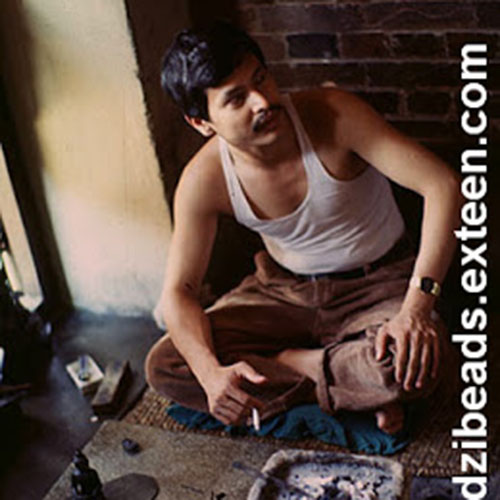
Relaxing after softening the wax The working environment with works in progress. |

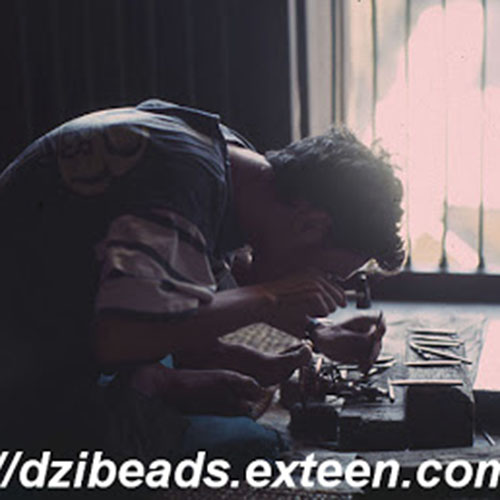
Working the face of an Ekajata wax model. | 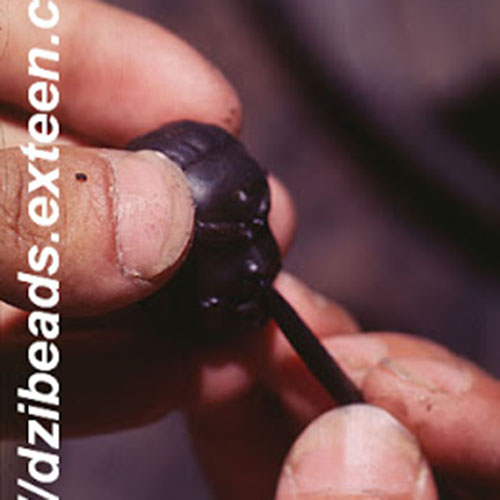
Working the face of wax model.Using a modeling tool to form the face of Ekajata. | 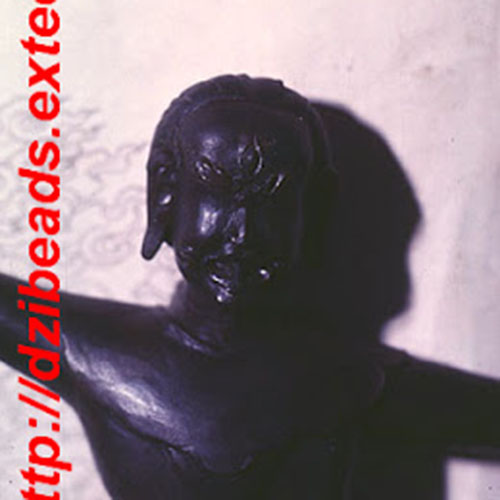
Deatail of wax model |
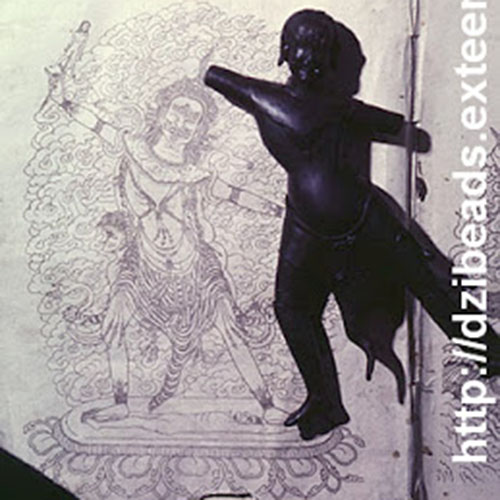
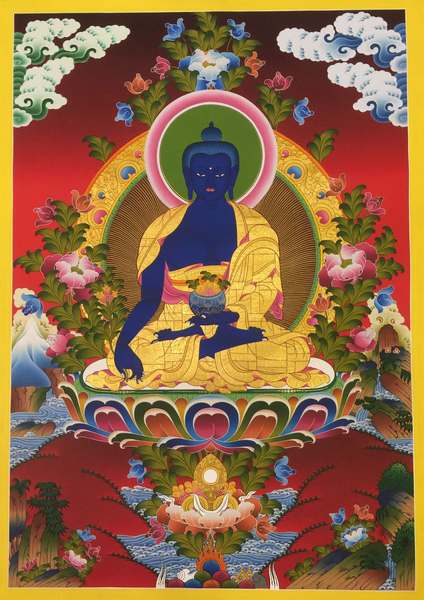
The design for Ekajata compared to the Tibetan book on which it was based.Statues Maker Are master in buddhism . | 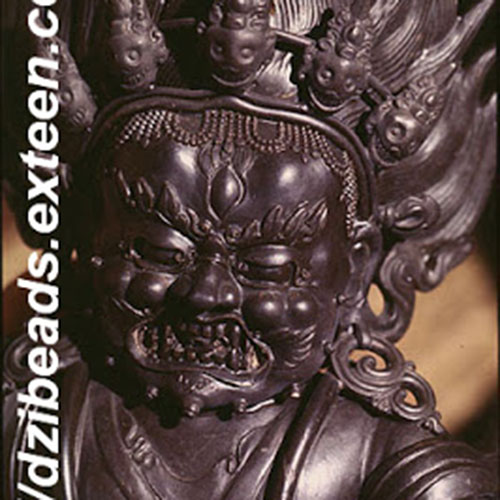
Detail of A partially finished Candamaharoshana (Acala) wax figure made in the Tibetan style. | 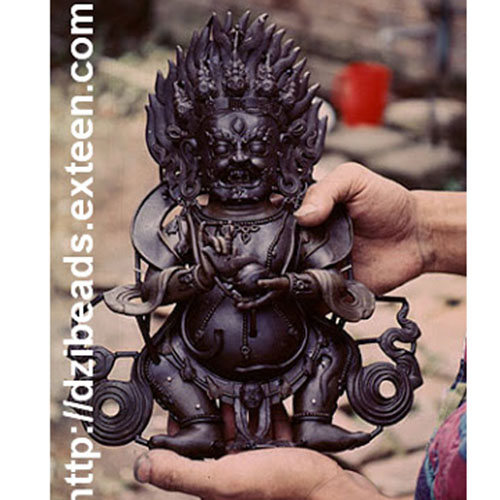
A finished wax image of Mahakala. |
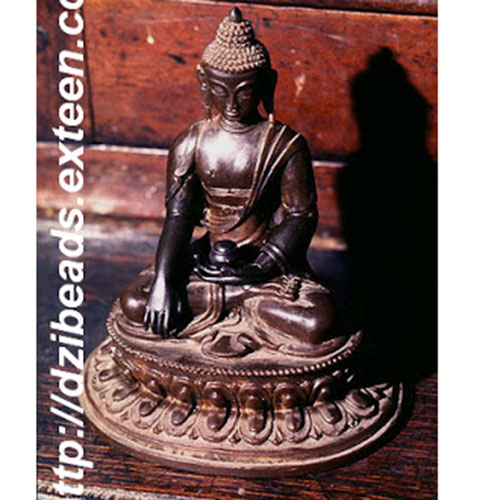
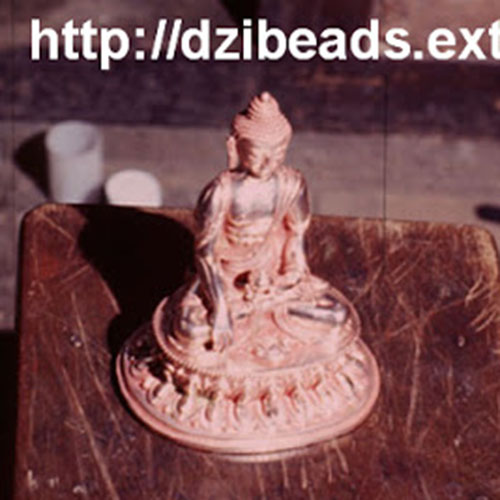
Anthor Finished Wax Model of Shakyamuni Buddha | 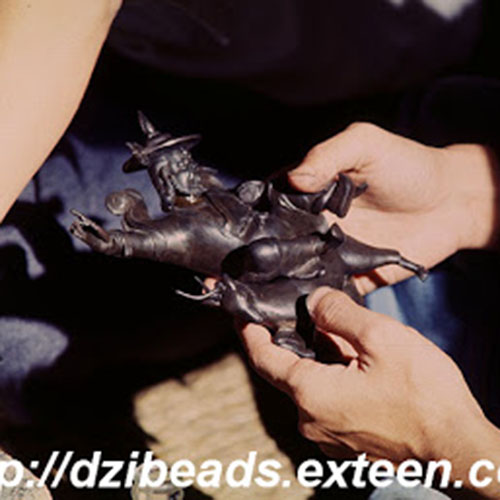
One of the modelers working in the room shows the Pehar image on which he is working. | 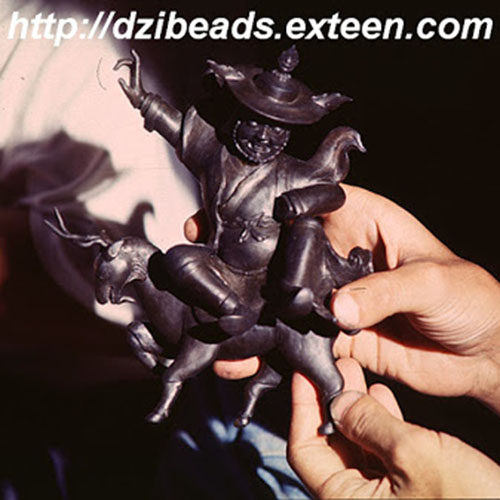
The artist showed how the goat , which had been completed earlier, fits under the image. , |
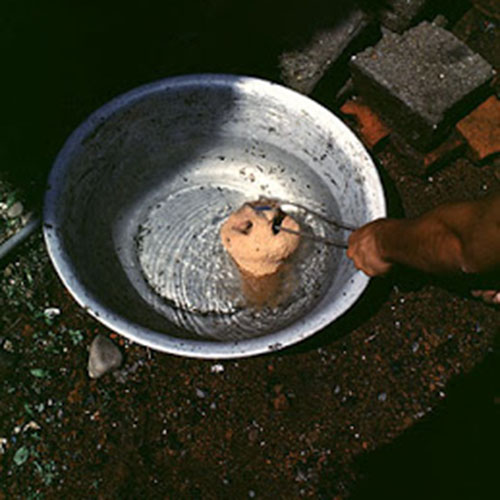
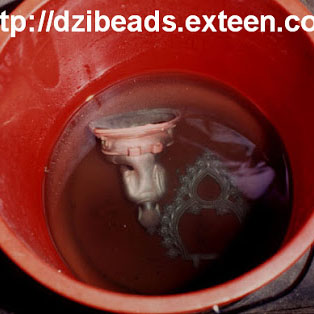
Tej Jyoti Shakya and his wife, Nani Maya Shakya Covering the wax model in a mixture of clay and dung | 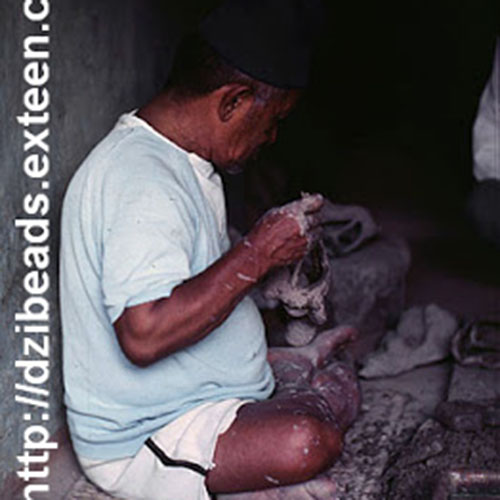
Pressing the mixture of clay and dung around the wax image. | 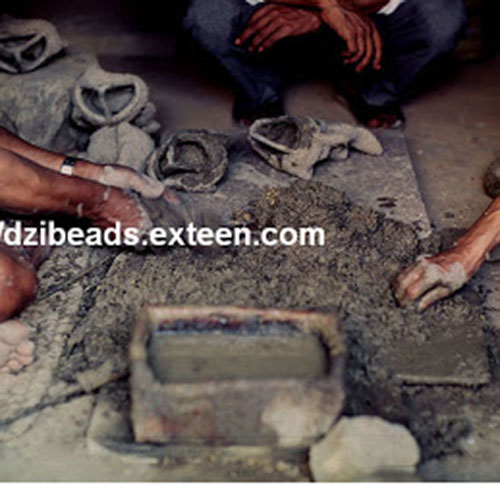
The board with the clay and dung mixture ready for use. |
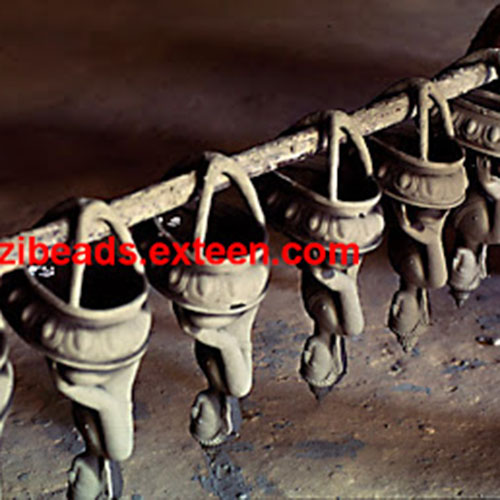
Model Pieces drying after the initial (dipped) thin layer of fine clay. | 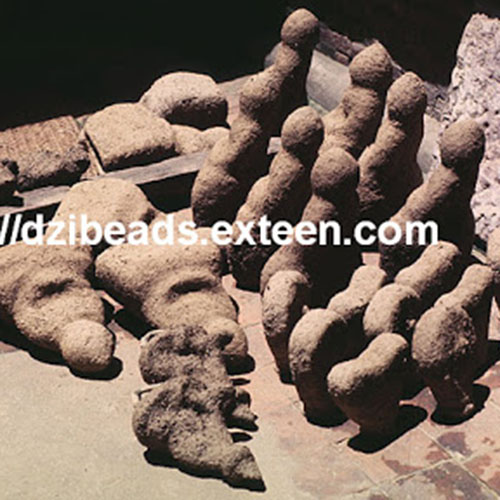
Clay-covered model pieces drying in the sun. | 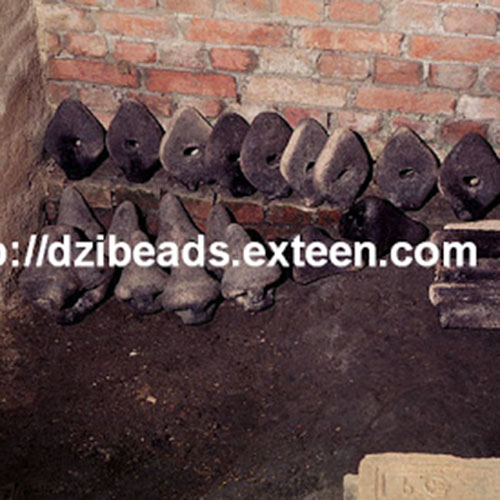
Molds waiting to be put into the burnout furnace |
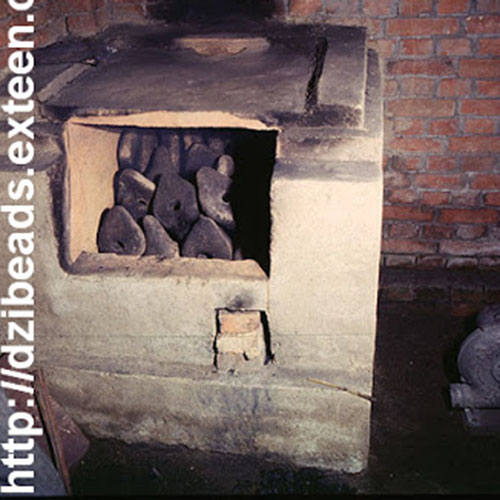
The same molds, seen in the previous image, in the burnout furnace | 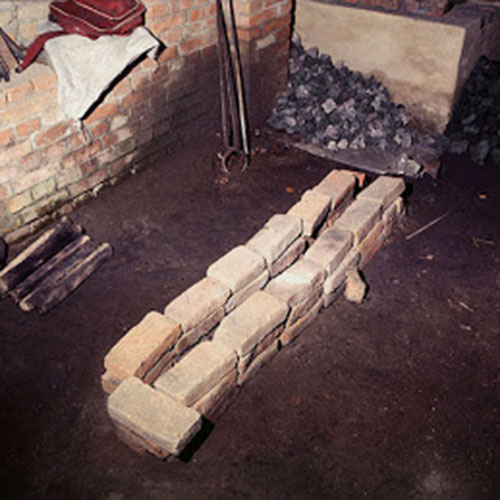
The double row of refractory bricks used to support the heated molds during casting. | 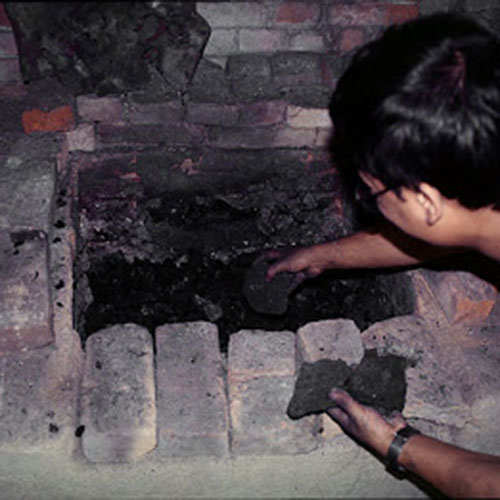
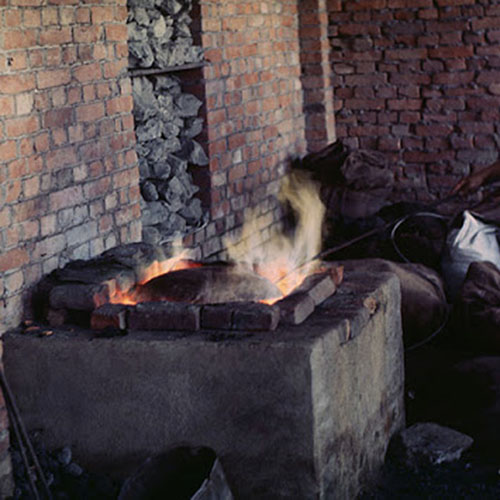
The melting furnace and a pile of coke used for melting the metals. Laying the bed of coke in the melting furnace. |

The first ignition of the coke. | 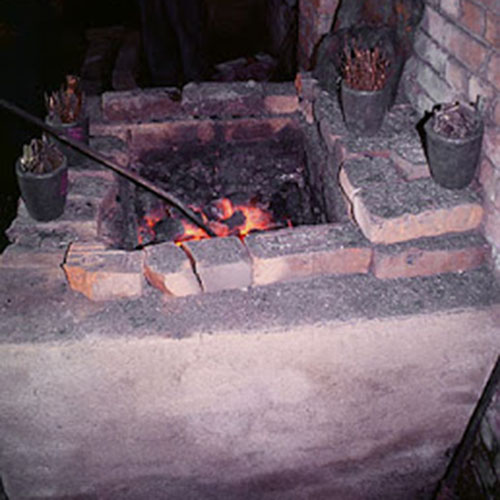
Checking the coke bed. | 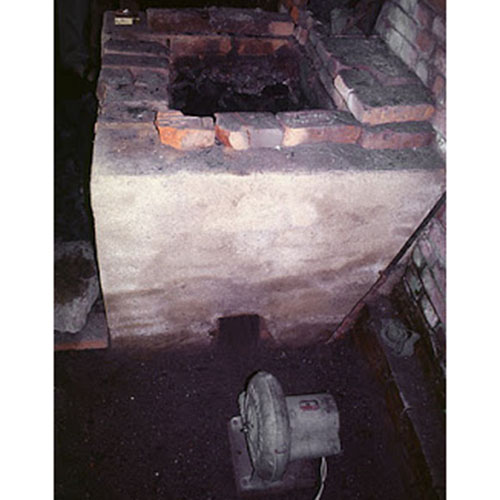
The electric blower used to force air into the melting furnace |
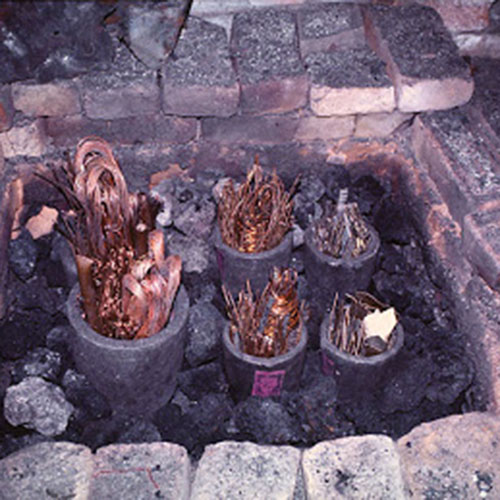
Beginning to fill the crucibles with scrap copper. | 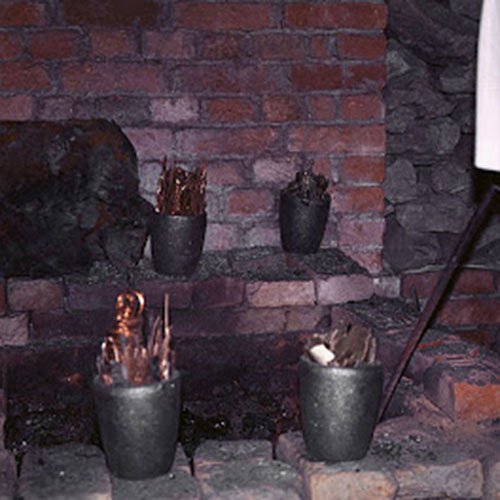
Preparing the bed of burning coke to receive the crucibles | 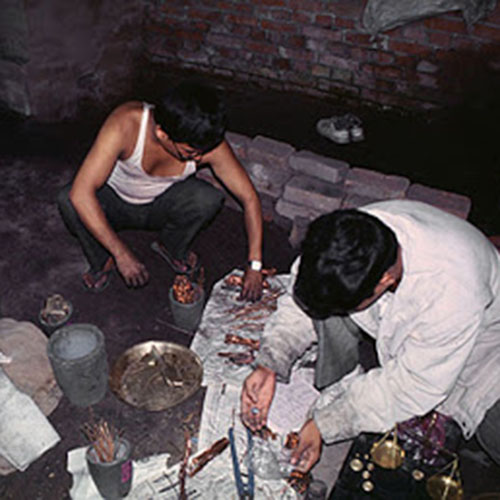
Sorting various metals used in the alloys. |
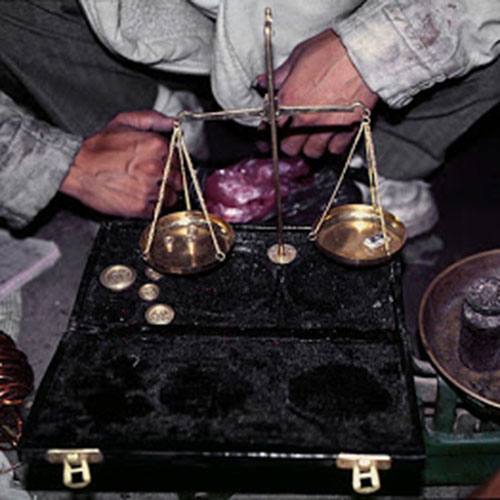
Weighing precious metals that are used in the alloys | 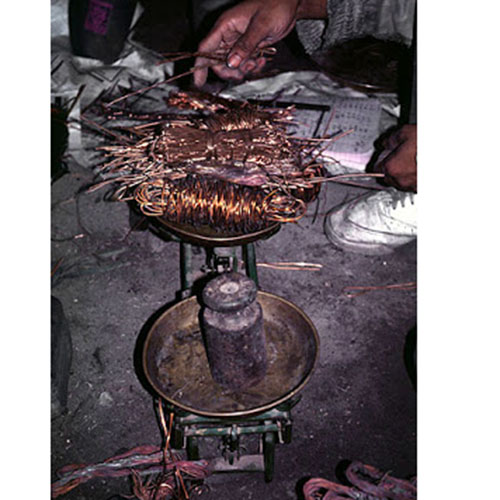
Weighing copper from Singapore to achieve a correct alloy. | 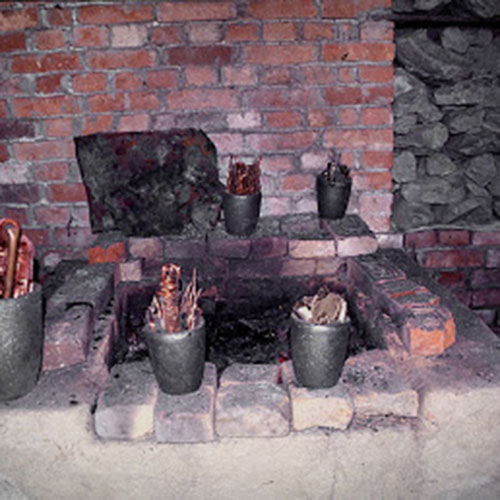
Different sizes of crucibles and various types of metals to be cast in this melt. |
Placing the crucibles in the bed of coke filled with metal are in place. | 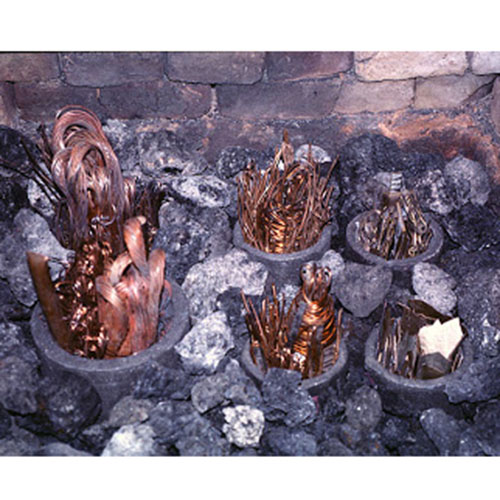
After the crucibles are in place, more coke is piled around them. | 
The crucibles are covered with scrap metal to hold in the heat. |
The electric fan is then connected.Soon a very hot flame is produced. | 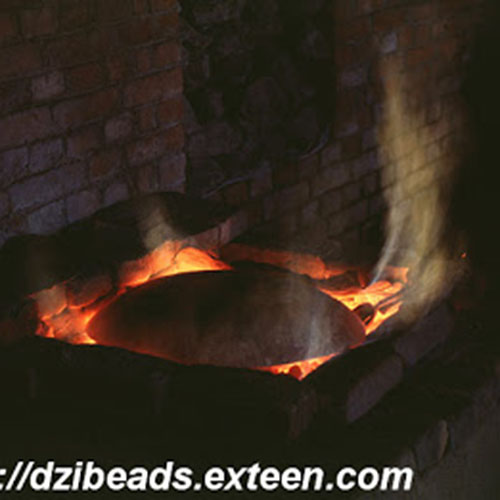
The entire furnace temperature goes up to about 1800 -1900 degrees. | 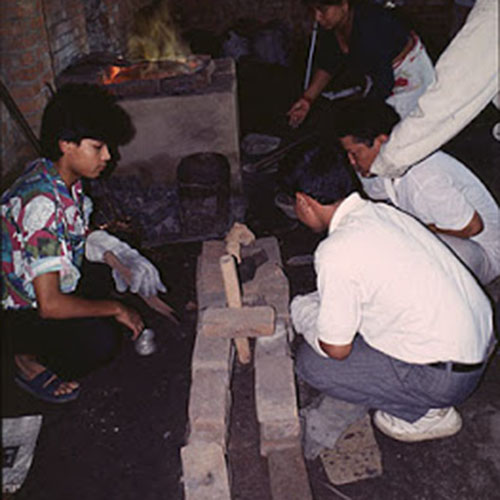
Setting up molds in between the refractory bricks to receive the molten metal. Handling the molds with asbestos gloves and bracing them with fragments of bricks. |

Pouring the molten metal into the base of a mold | 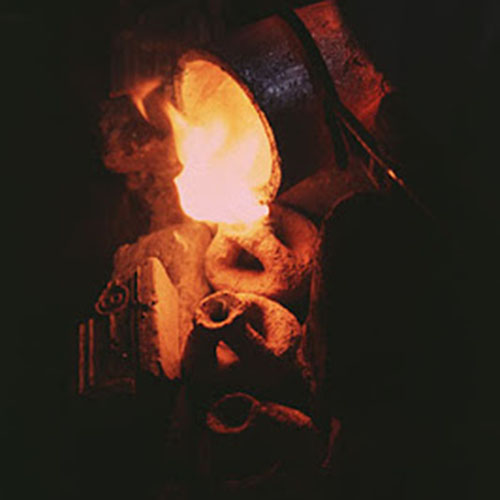
Another view of the artists pouring the molten metal.Detailed view showing the molten metal being poured into the sprues. | 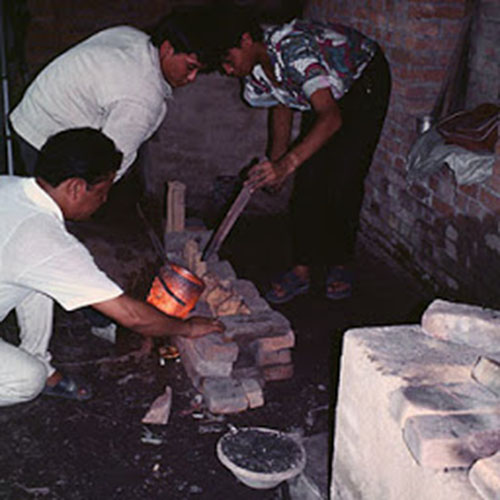
Preparing to lift and pour molten metal from one of the larger crucibles. |
Cooling a mold containing the recently poured metal.
| 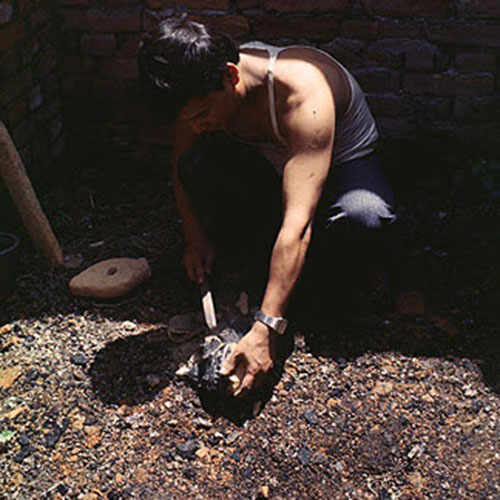
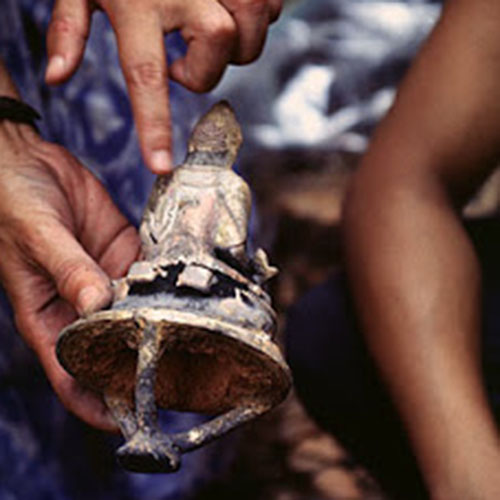
Beginning to break away the clay mold from the metal casting. The mold breaks away revealing the metal image inside | 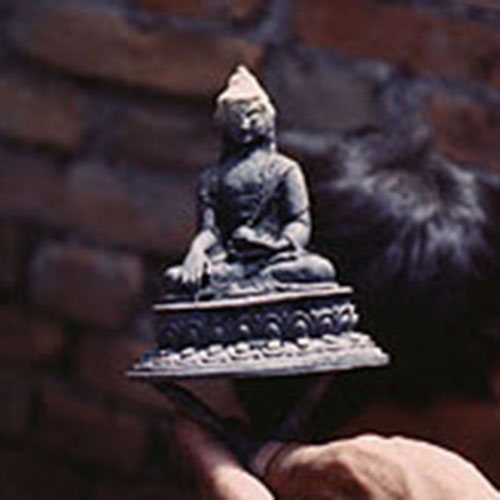
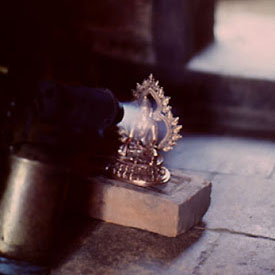
The first metal image from the day's work. |
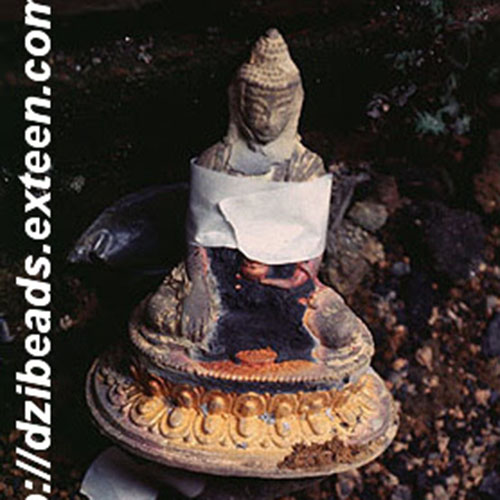
Examining the image for flaws | 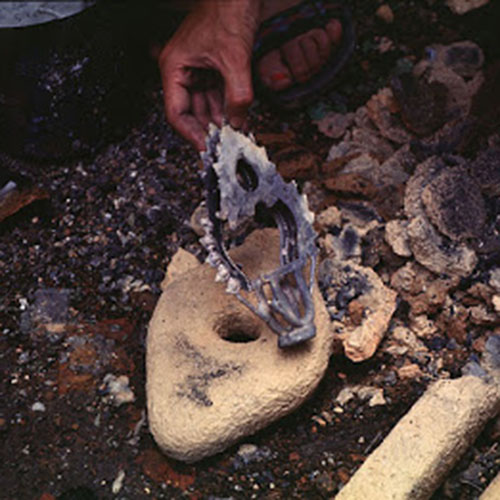
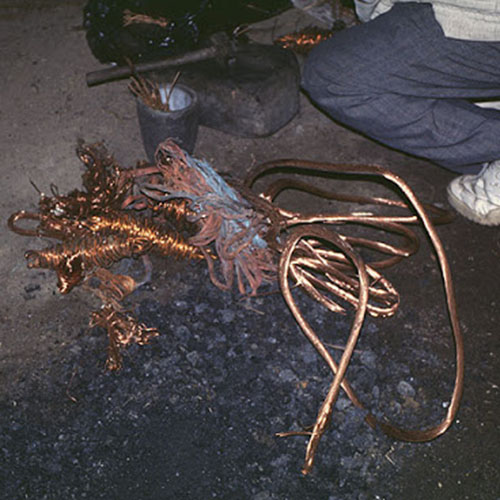
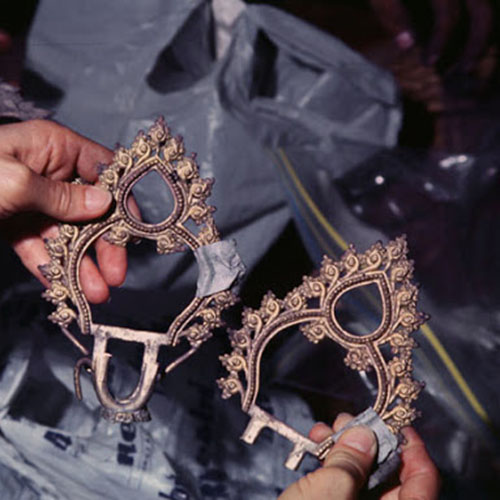
Two auras (prabhamandalas), one that cast perfectly and one (in front) that only partially filled. | 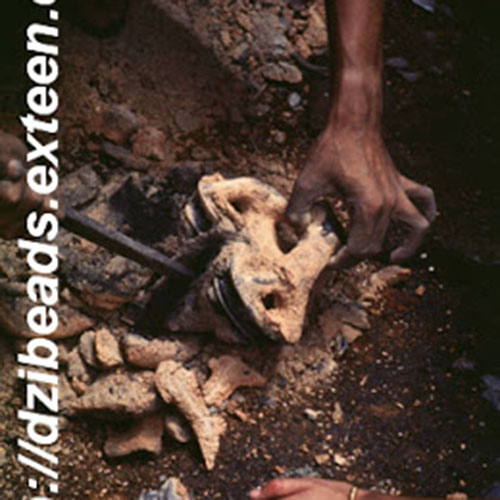
Opening more molds |
| 
| 
|
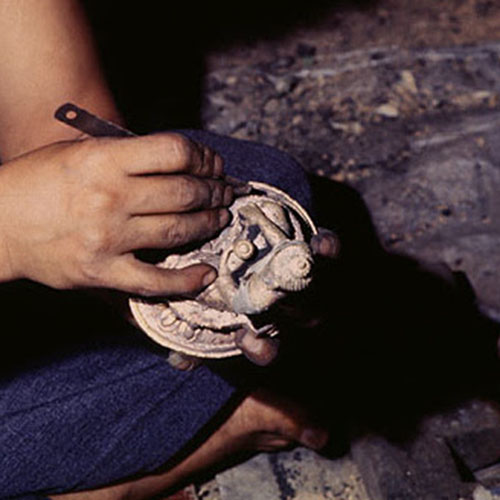
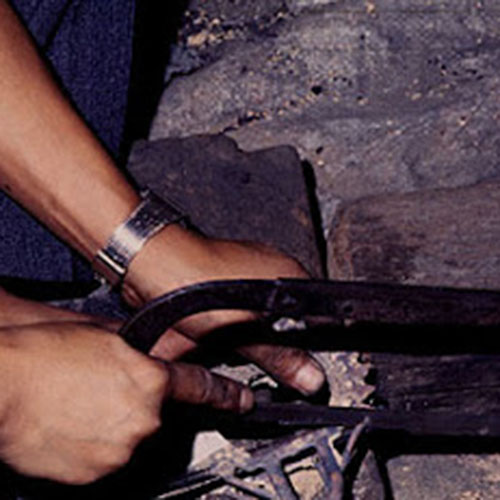
| Researchers mark specific metal images for future identification. | Cleaning the details of the image with a metal tool. | Sawing off the sprues from Aura image. The sprue metal will be reused in future castings. |
| 
| 
|
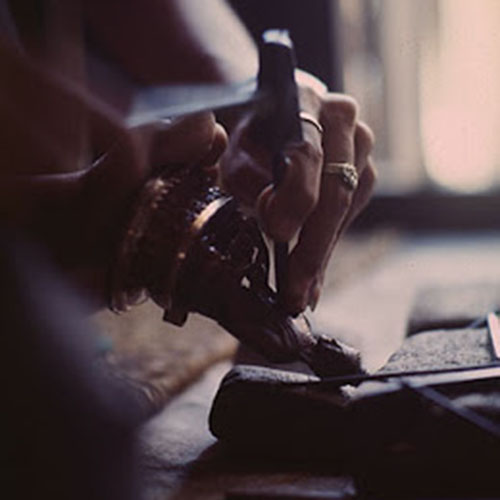
| Two auras that worked perfectly. The one on the right has been cut off of the sprues, while the one on the left still has the sprues attached. | The finishing specialist begins the finishing process with a set of tools, including a small hammer. to give more detail | The entire surface of the image will be gently hammered to a final, almost polished finish. |
| 
| 
|
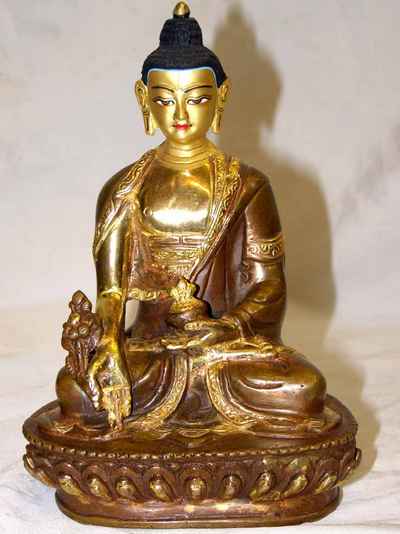
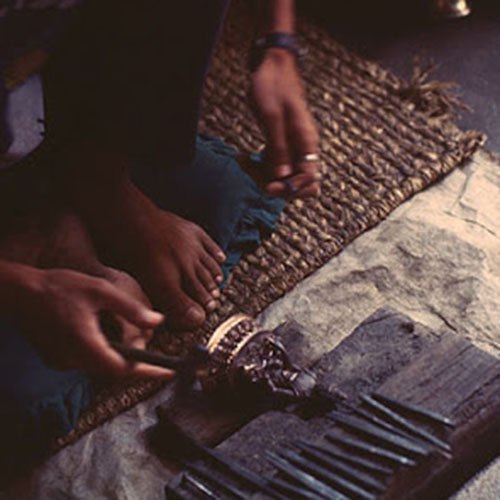
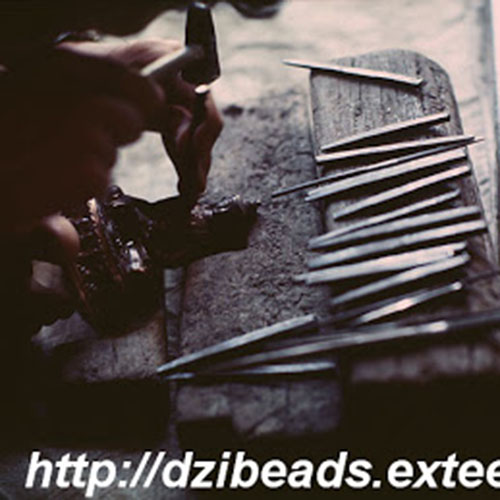
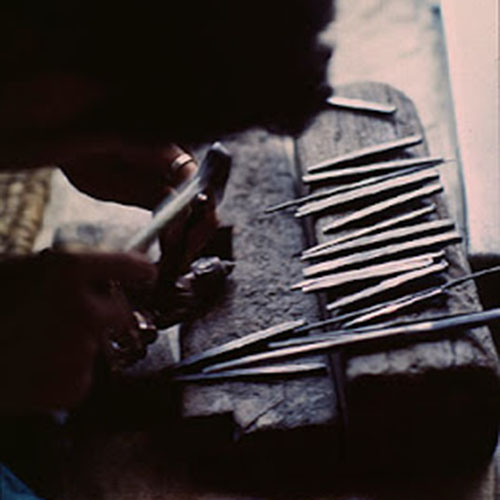
| The finisher's tools and the work in progress | Finishing work on an image of the Buddha. | Hammering the chest of an image that is being held against the work block |
| 
| 
|
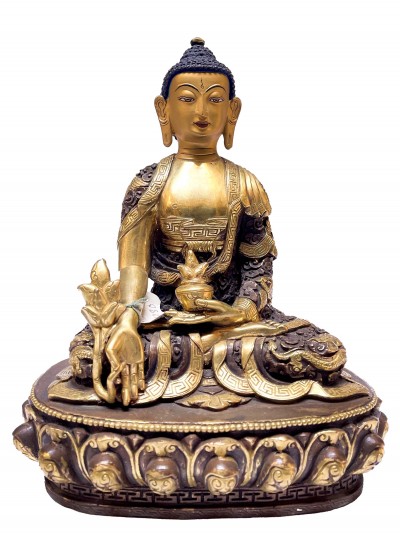
| A Buddha image hammered and chased to the final, detailed finish. | Cleaning in a very mild acid bath. The image and prabhamandala are placed in a final acidic bath to make sure the surface is absolutely clean. | Drying the image with a blow torch. |